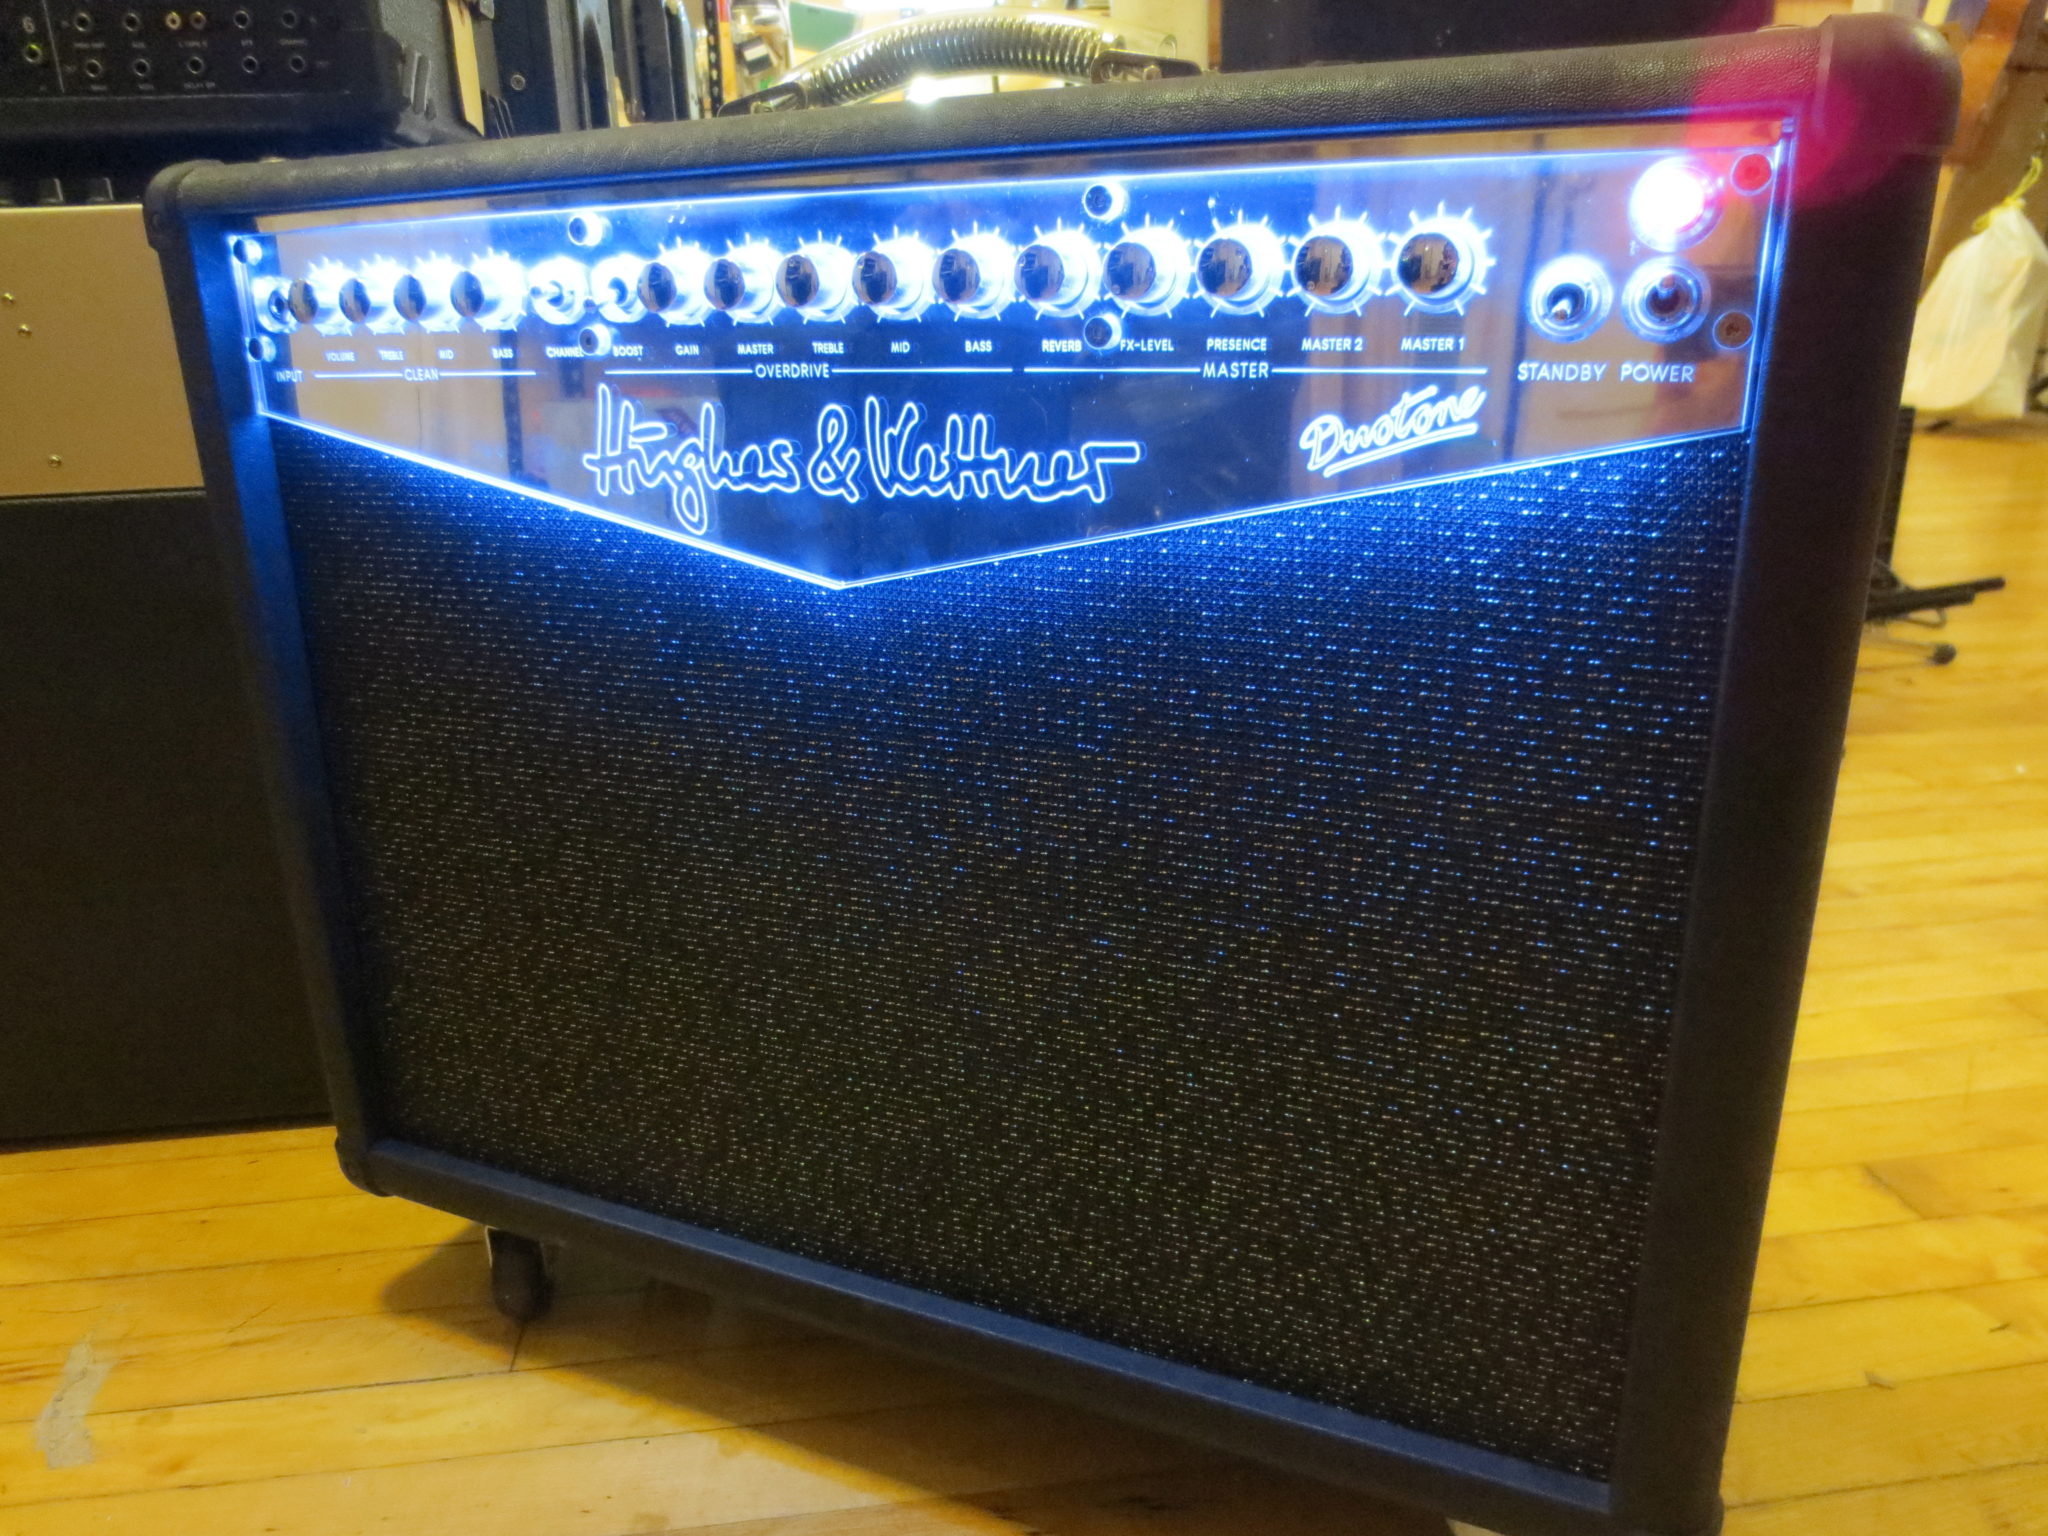
“How much does it cost to re-tube & bias my amp?” It’s a common question and we don’t always have a straight answer. But we promise – we’re not being evasive! Some amps are simply harder to work on than others! Case in point, this Hughes & Kettner Duotone that needed a bias adjustment.
Look at the top of this website and you’ll see a link to our guitar services and prices. It’s basic, but still rather extensive and will give you an idea what to expect for most jobs. Head over to the Amp Repair (Chicago Amp Works) page and you’ll find one price – our $40 deposit that we collect when amps are dropped off. Why is this? Why don’t we have a price for replacing a speaker or re-biasing an amp?
The answer is that we can look at a guitar and tell you what work it needs. An amp – with all of it’s parts deep inside the cabinet, requires disassembly and often testing with oscilloscope and voltage meter to tell what’s causing a problem. Sometimes disassembly is just a small handful of screws and popping out the chassis. Other times like with an Ampeg SVT or this Hughes Kettner can require 20-30 minutes of unscrewing and removing parts just to get it on the bench! Take a look at the effort that went into just getting to the bias control on this one.
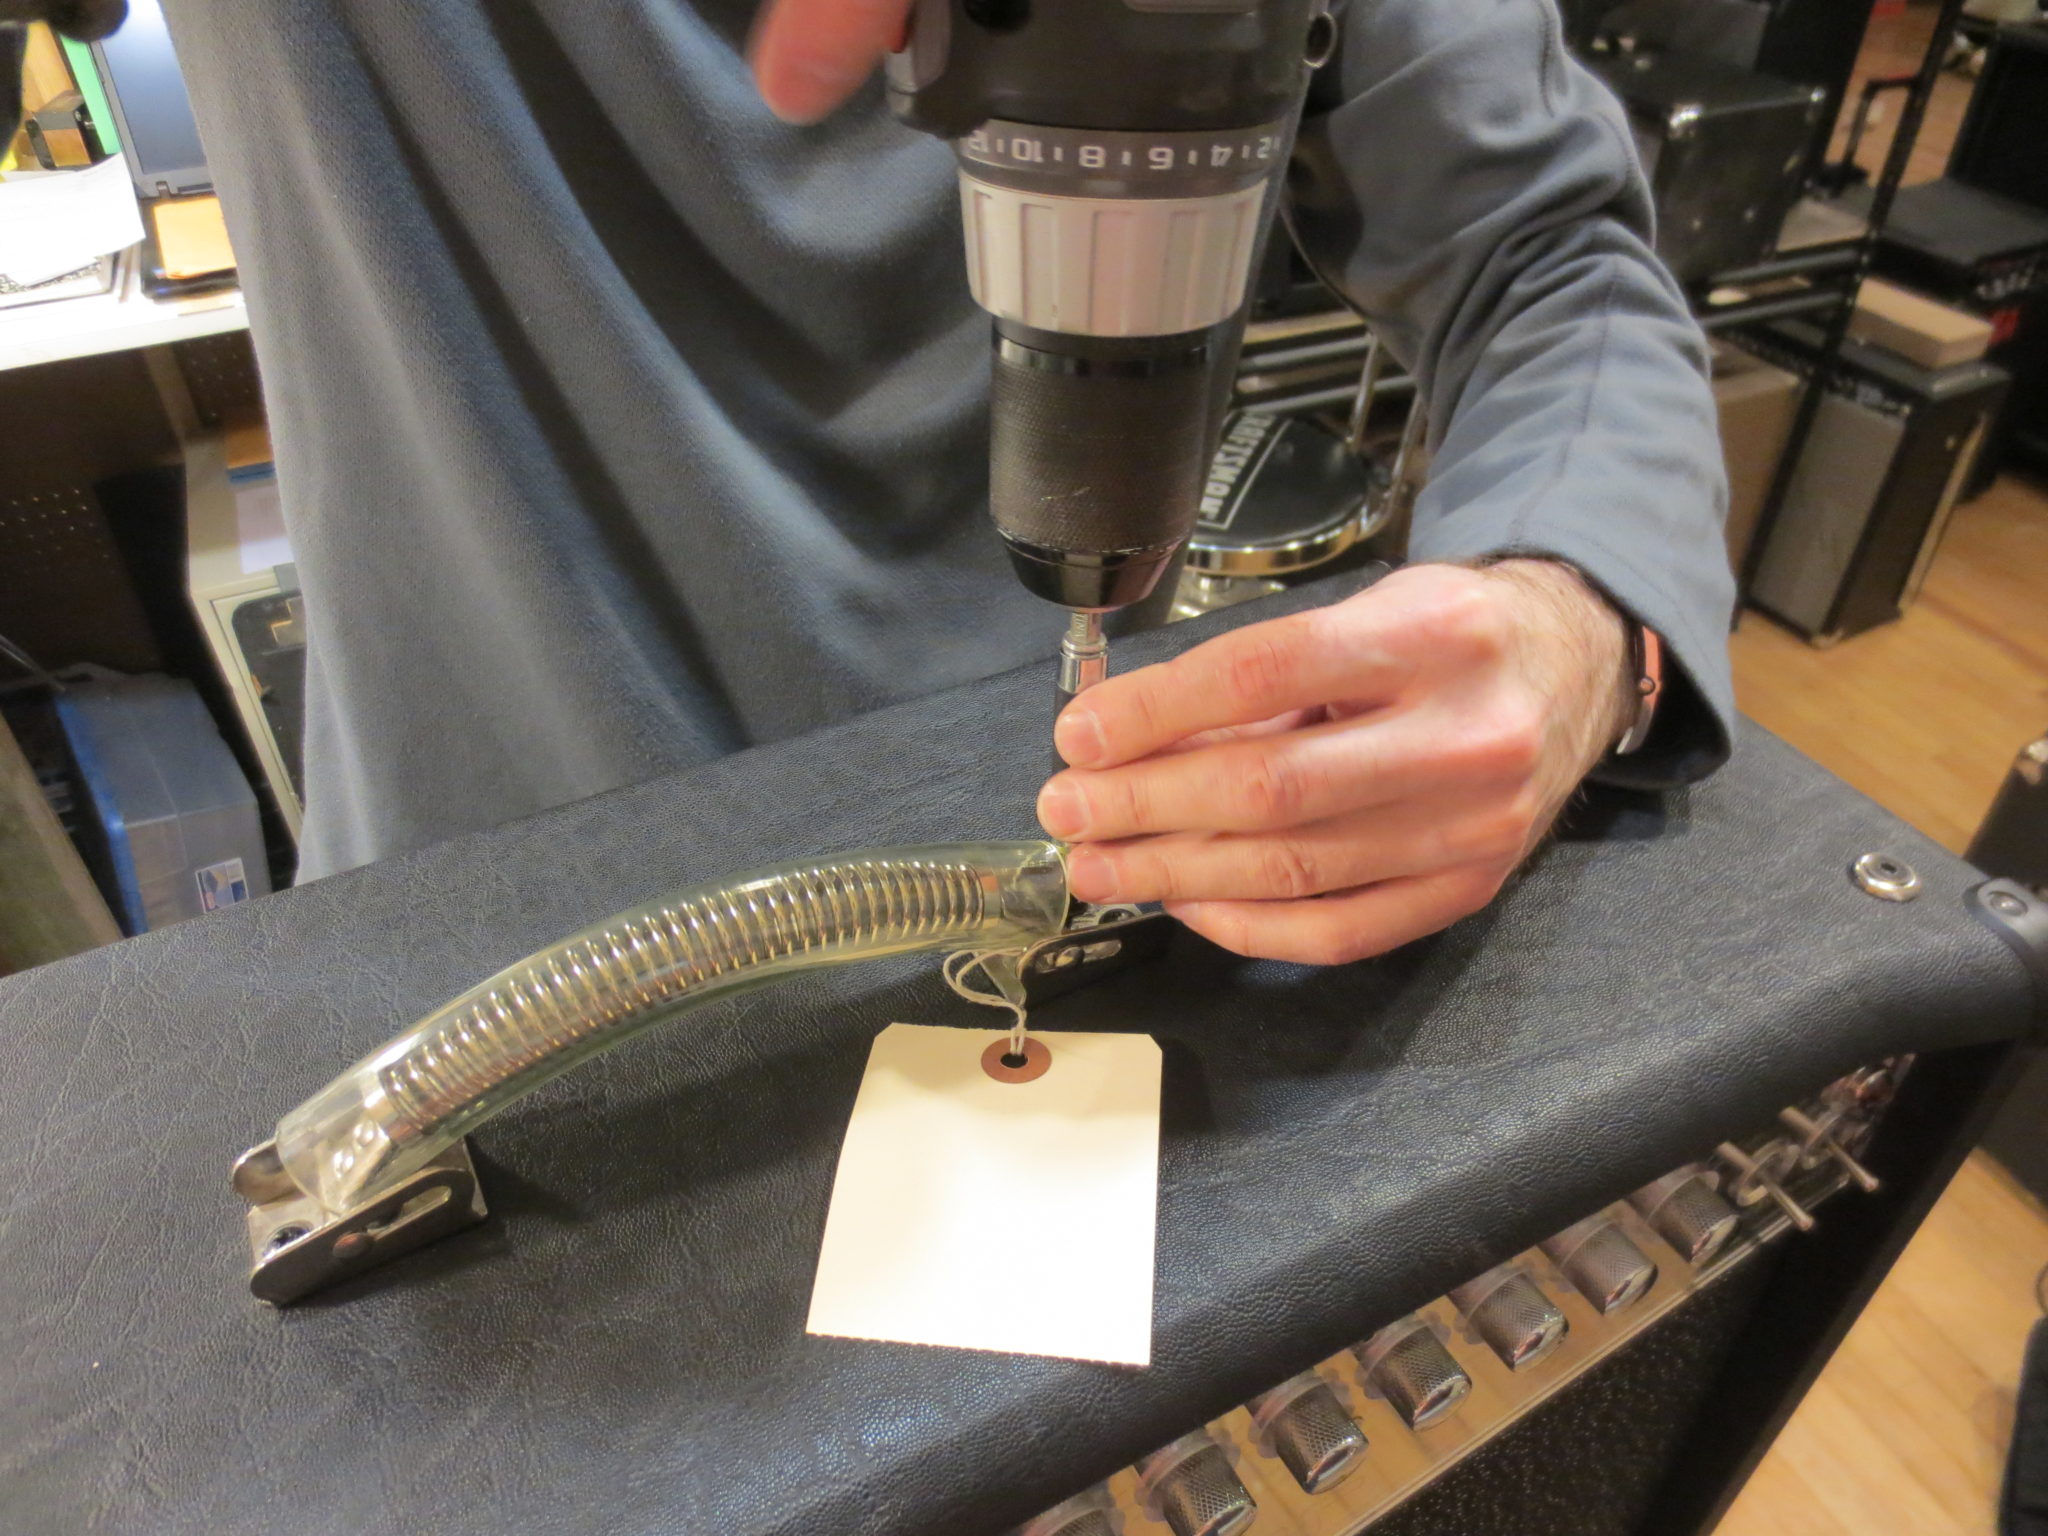
First, Pat removes the handle screws which are anchored in the steel chassis beneath the amp top.

The mirrored plexiglass panel on the front is part of the chassis and hangs in front of the black speaker baffle. So he has to remove the entire baffle – held in place by a half dozen screws – to get the chassis out. This however is not as simple as it sounds.

To get the baffle out of the box, he has to take the back off – four more screws…

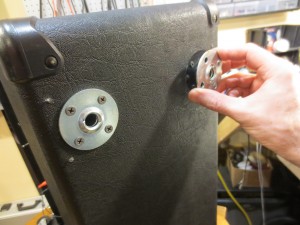
But now we notice four metal nubs sticking out of the amp floor (there’s two in this shot.) They’re caster housings and they’re going to block the baffle from coming out; so they’ll need to go too!
Sixteen screws for the casters.
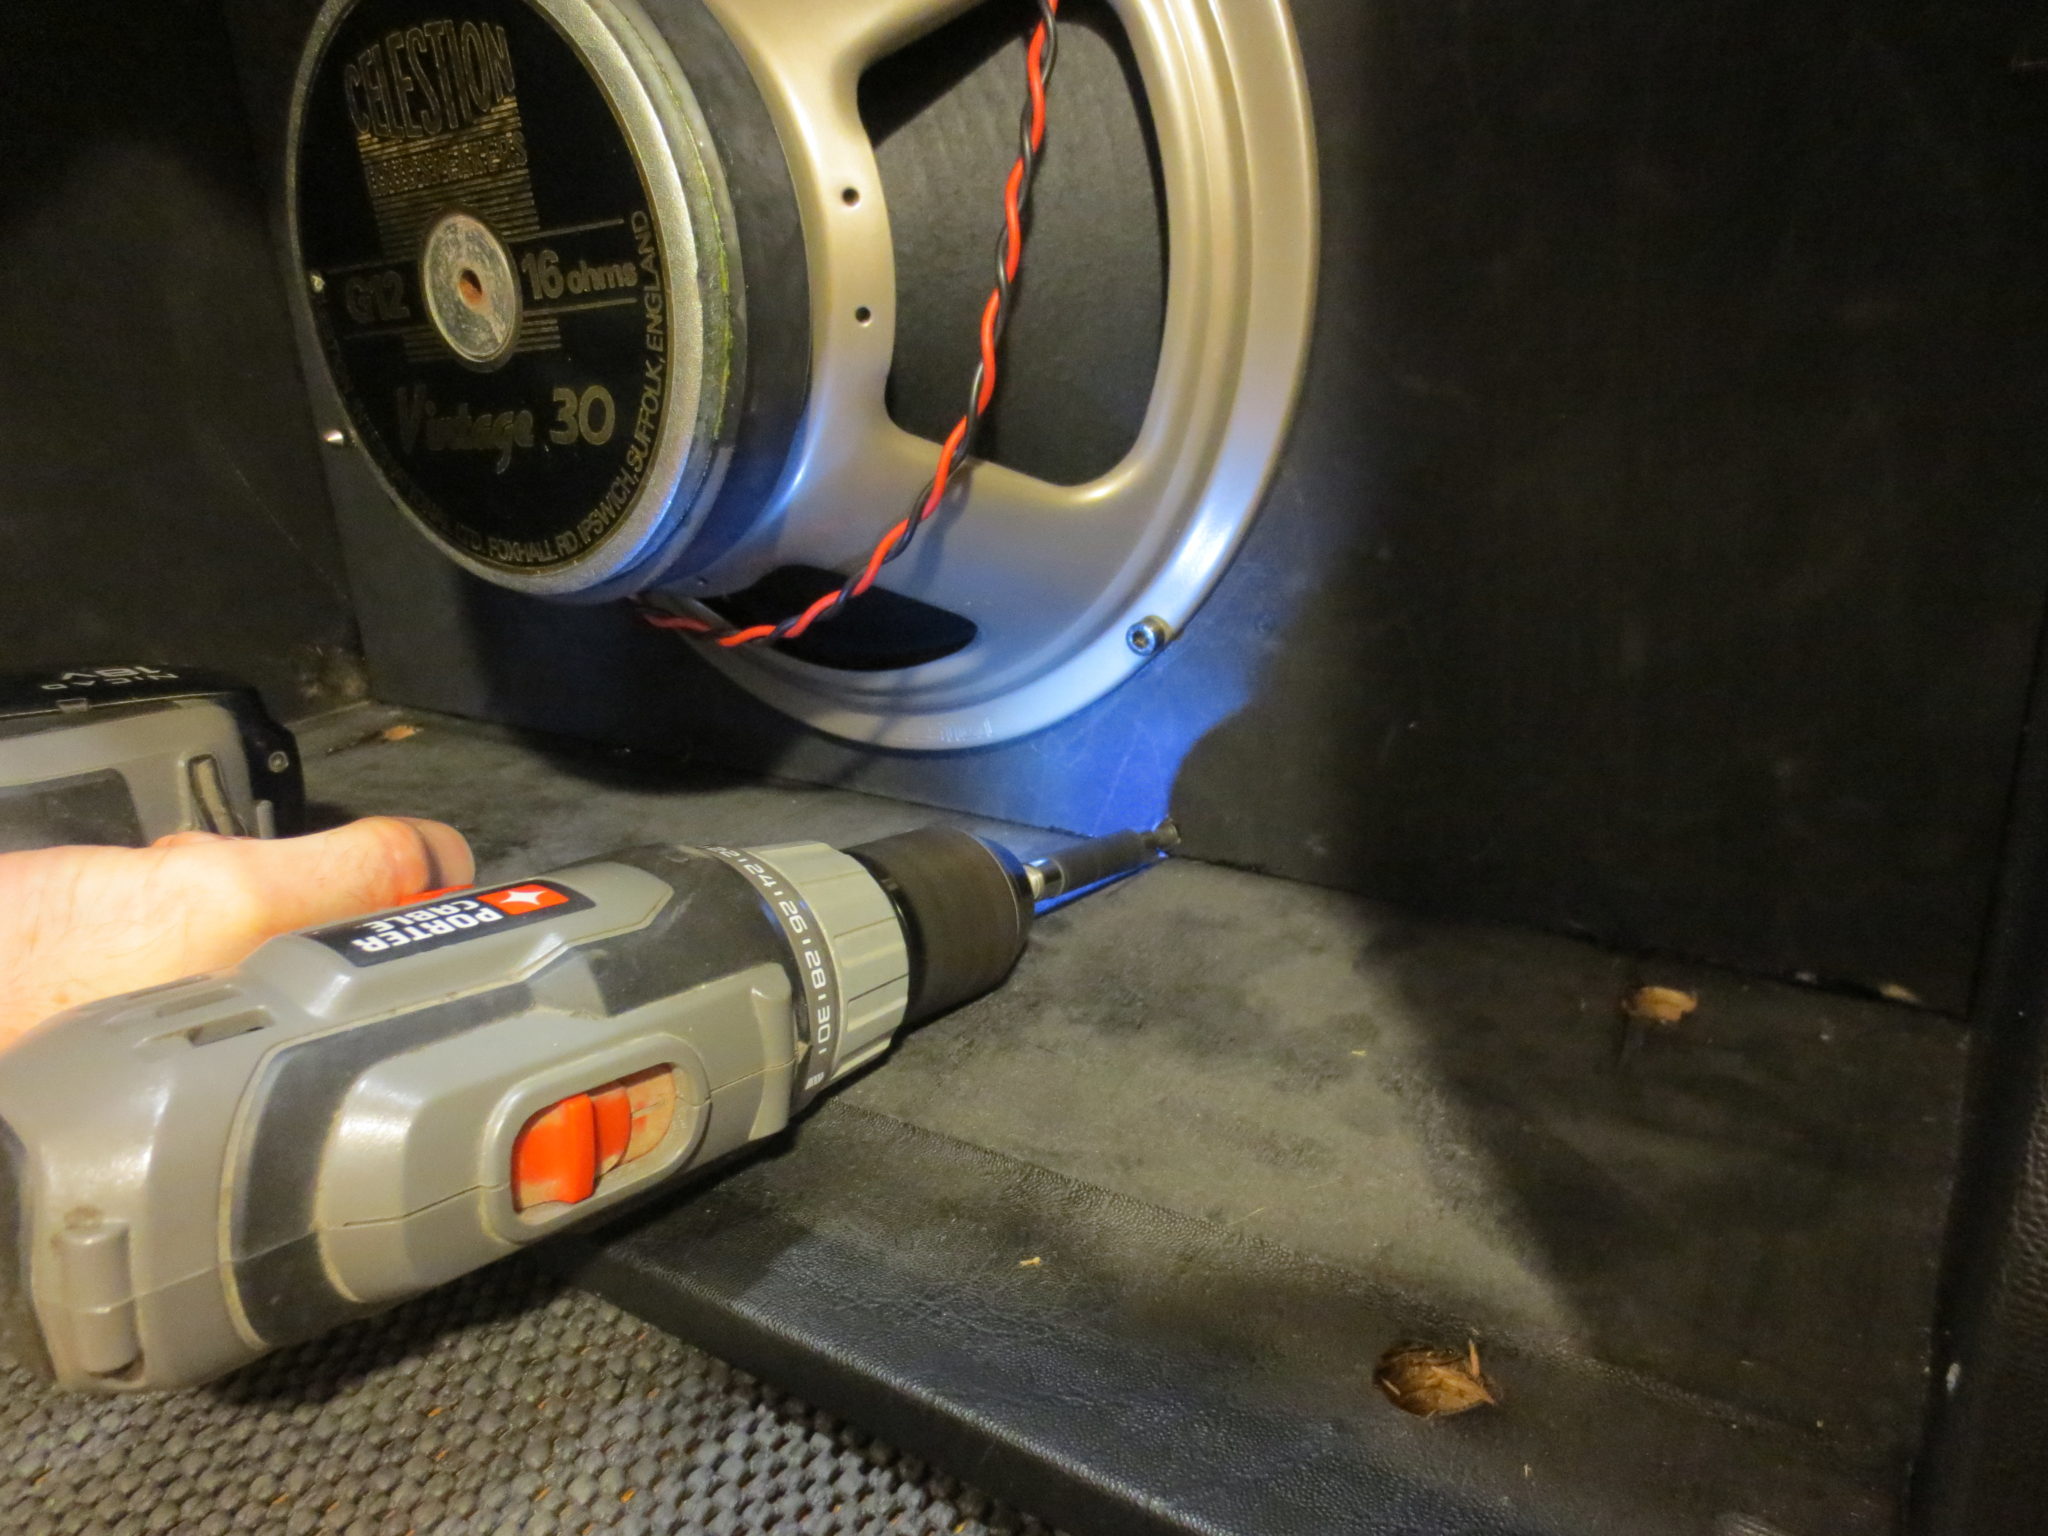
A couple more at the base of the speaker baffle (note the holes where the caster mounts poke up.)
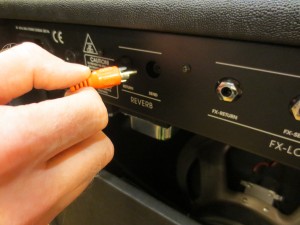
Don’t forget to disconnect the reverb tank plugs!
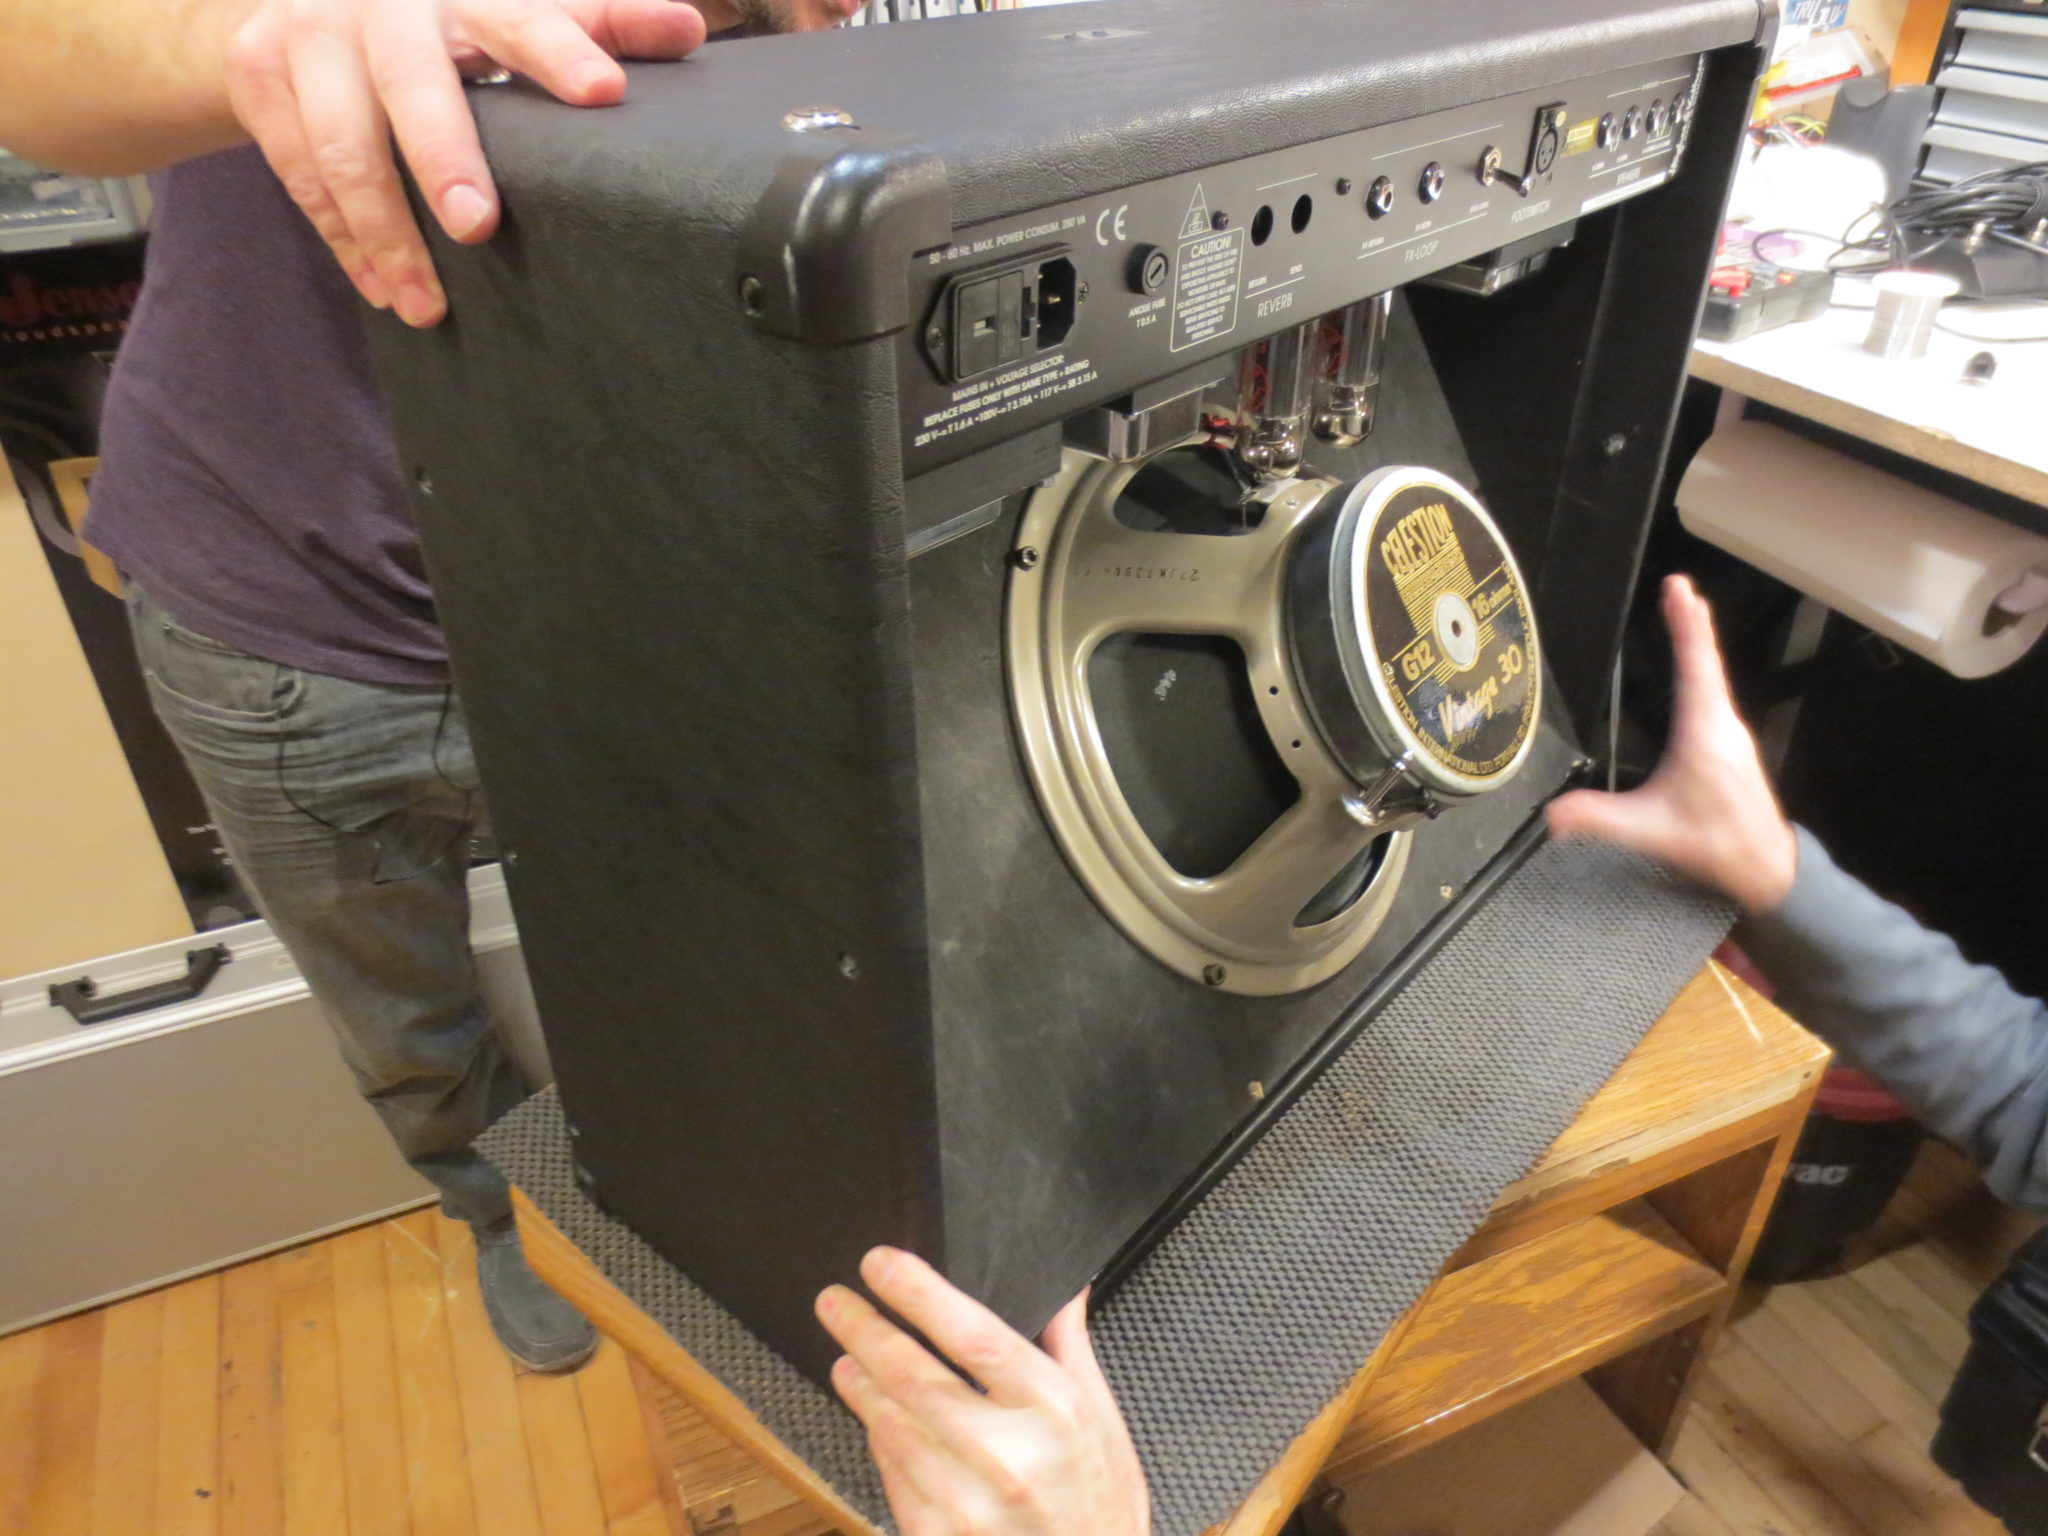
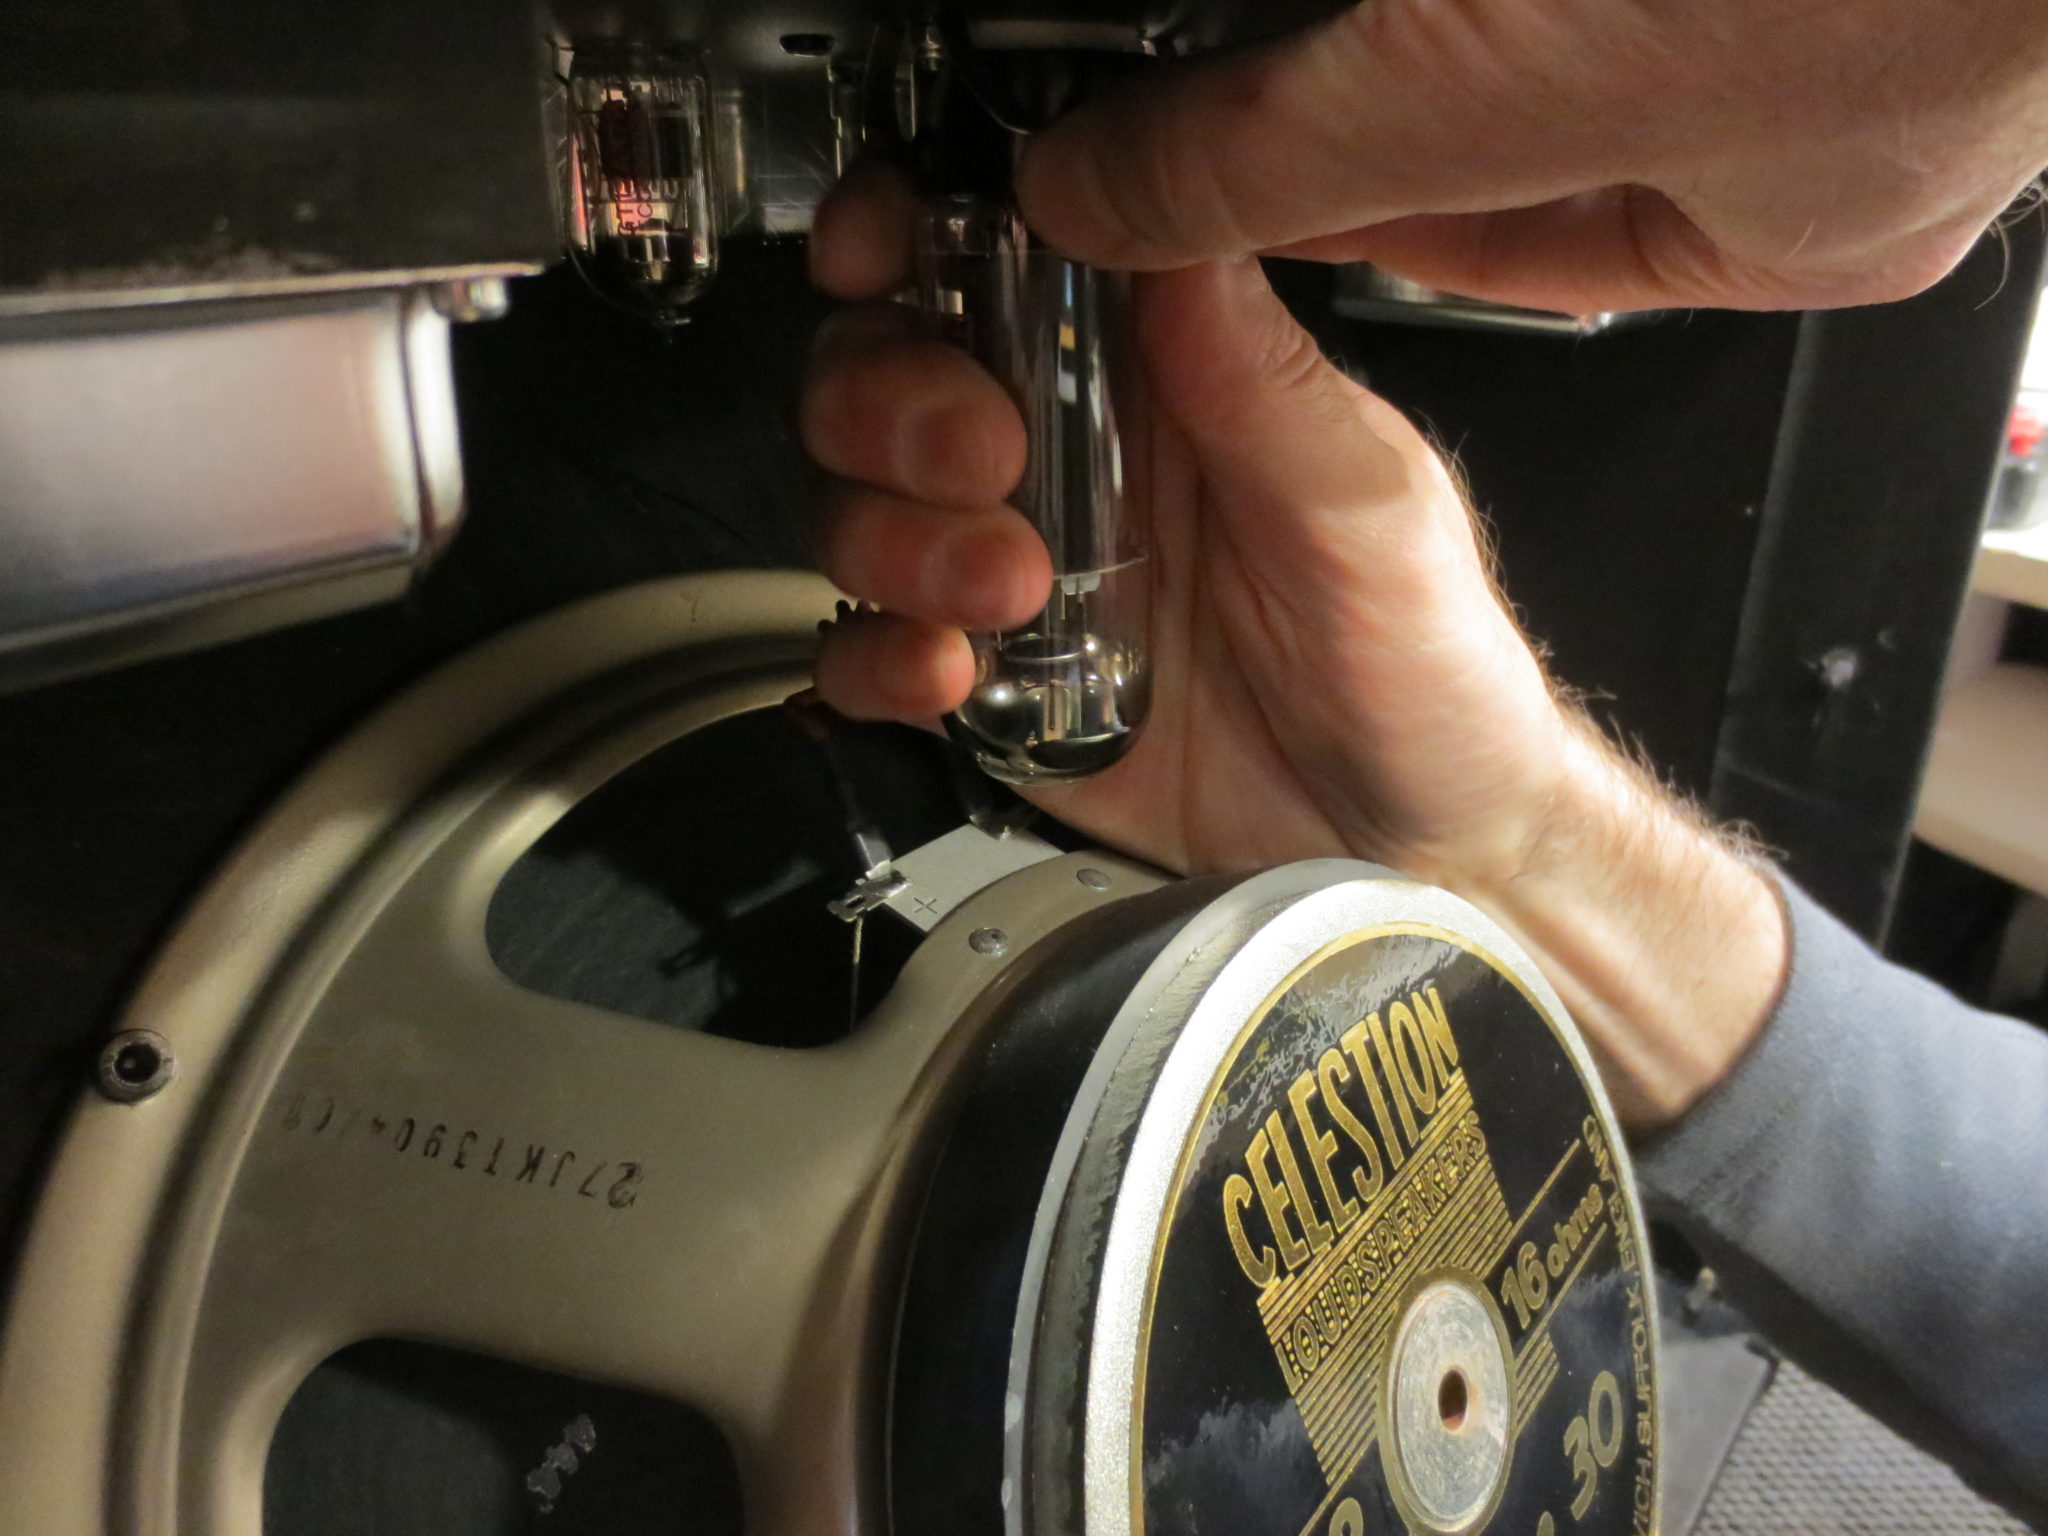
Now with a little help from a co-worker, it’s out with the speaker and baffle. Wait! Those power tubes are going to get broken off! Better take them out too.
Finally, with the tubes, speaker, and baffle out, Pat can loosen the screws that hold the chassis in place.

Up on the bench, screws number 37 and 38 hold a steel top in place. Once those are out…
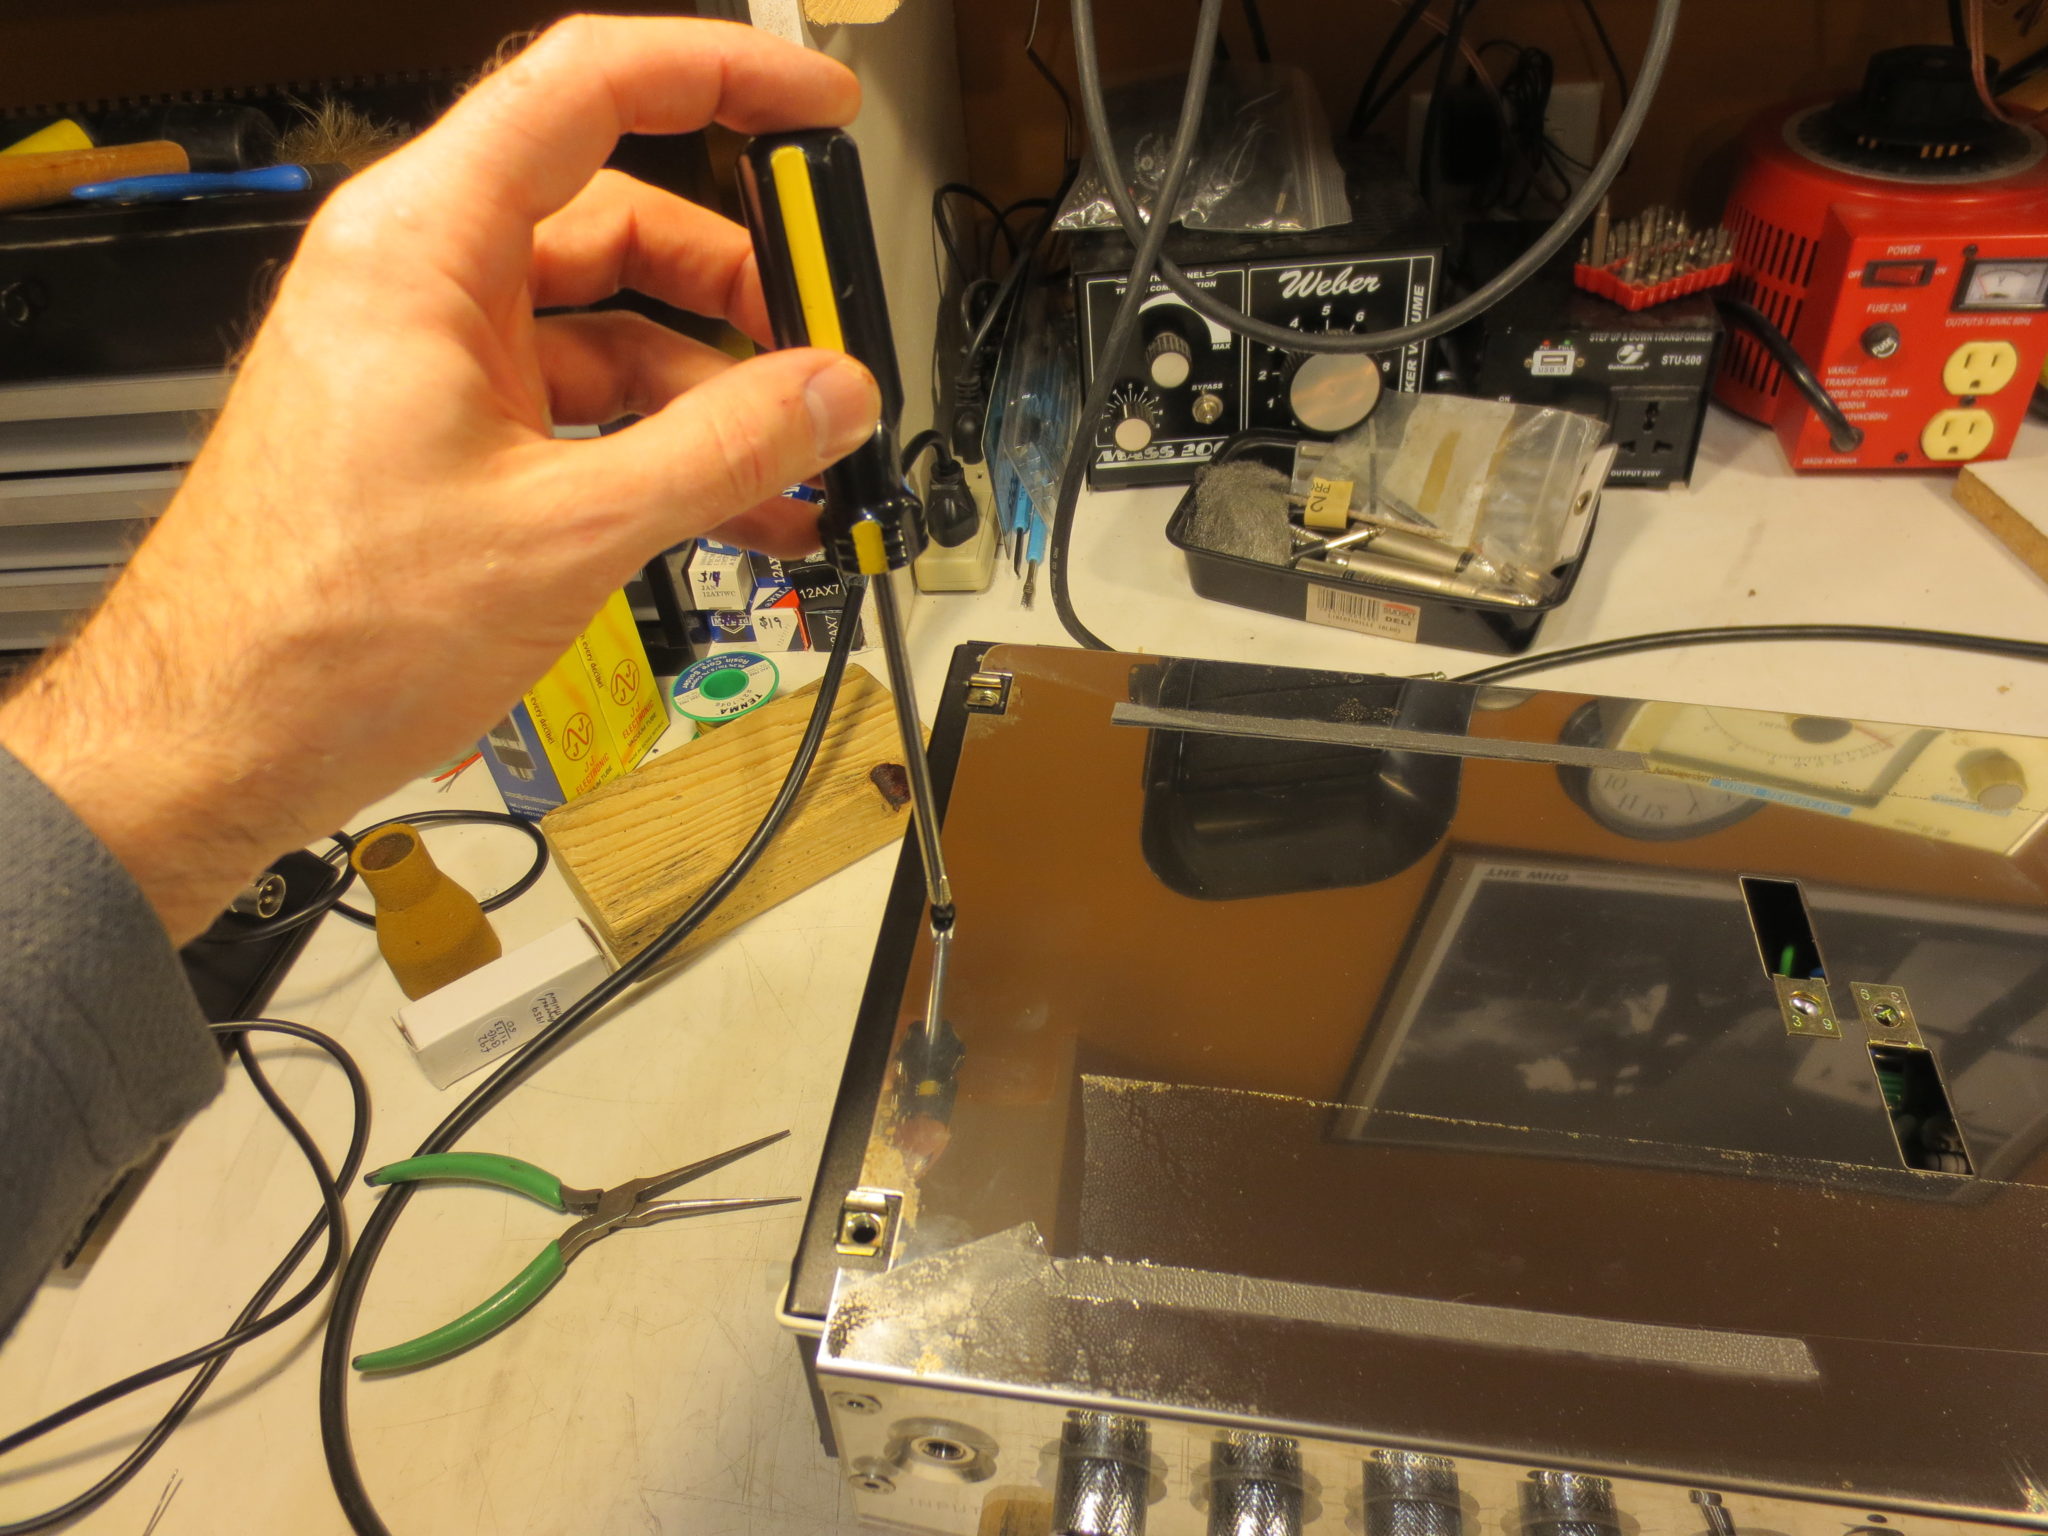
…we can finally see this little bias trim-pot inside. It’s been close to a half hour so far and we haven’t even started repairing the amp. Fortunately, there are lots of amps that are much easier to open up than this. Less time should mean less expense to the customer and it does here. We price each amp repair according to how long it takes to get the job done right.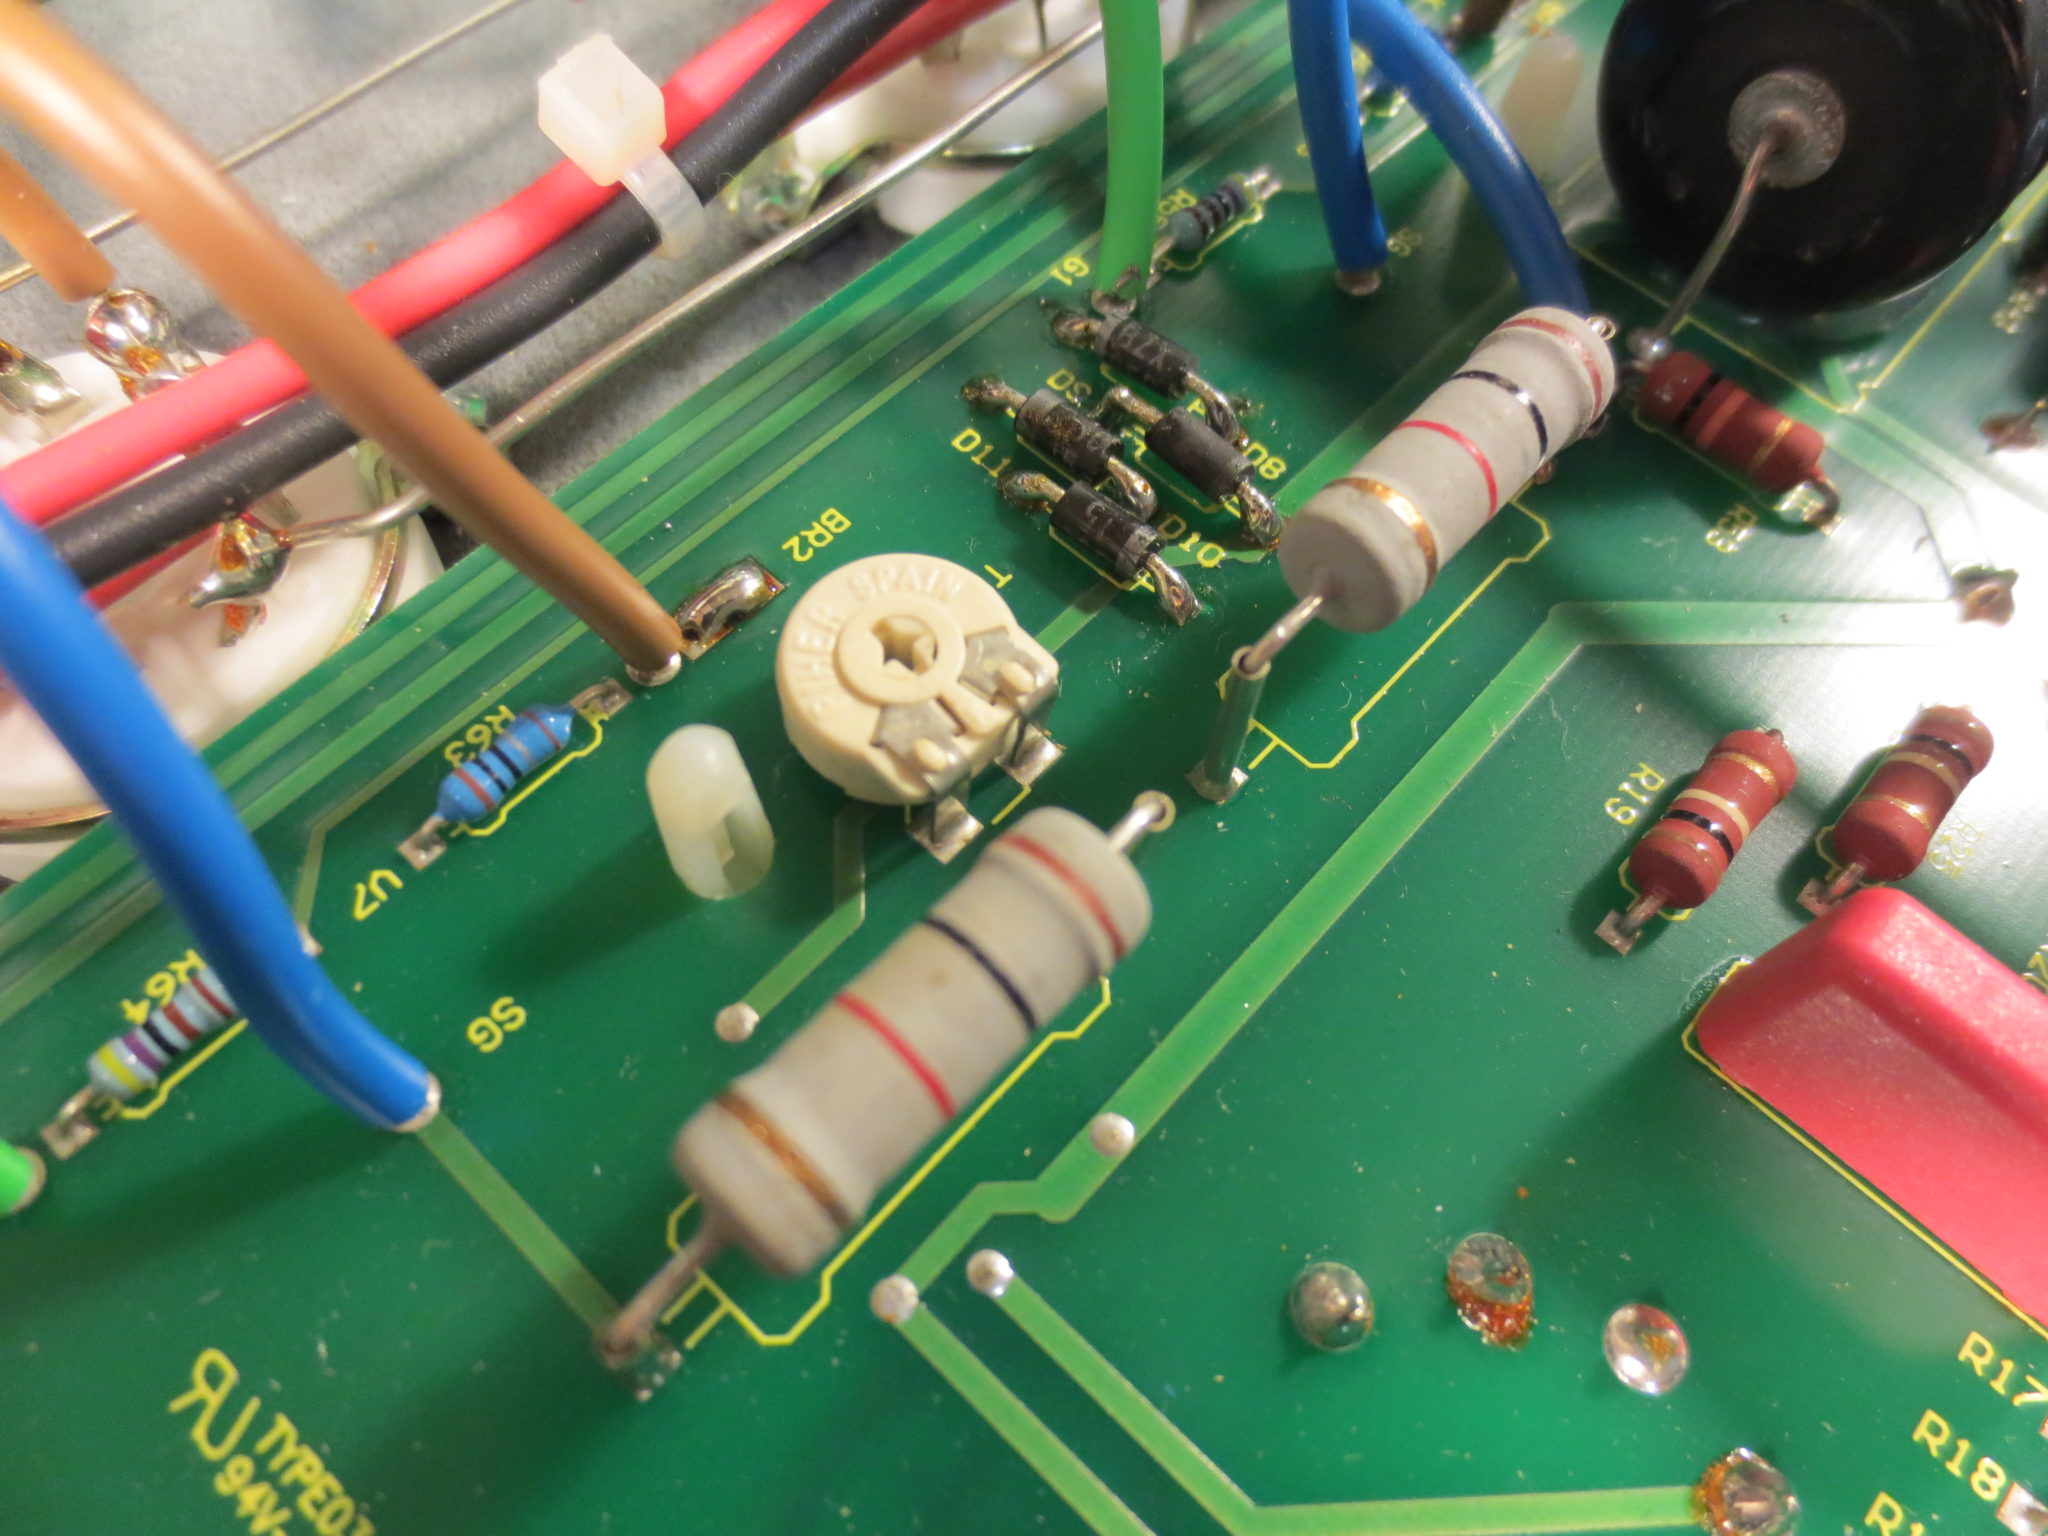
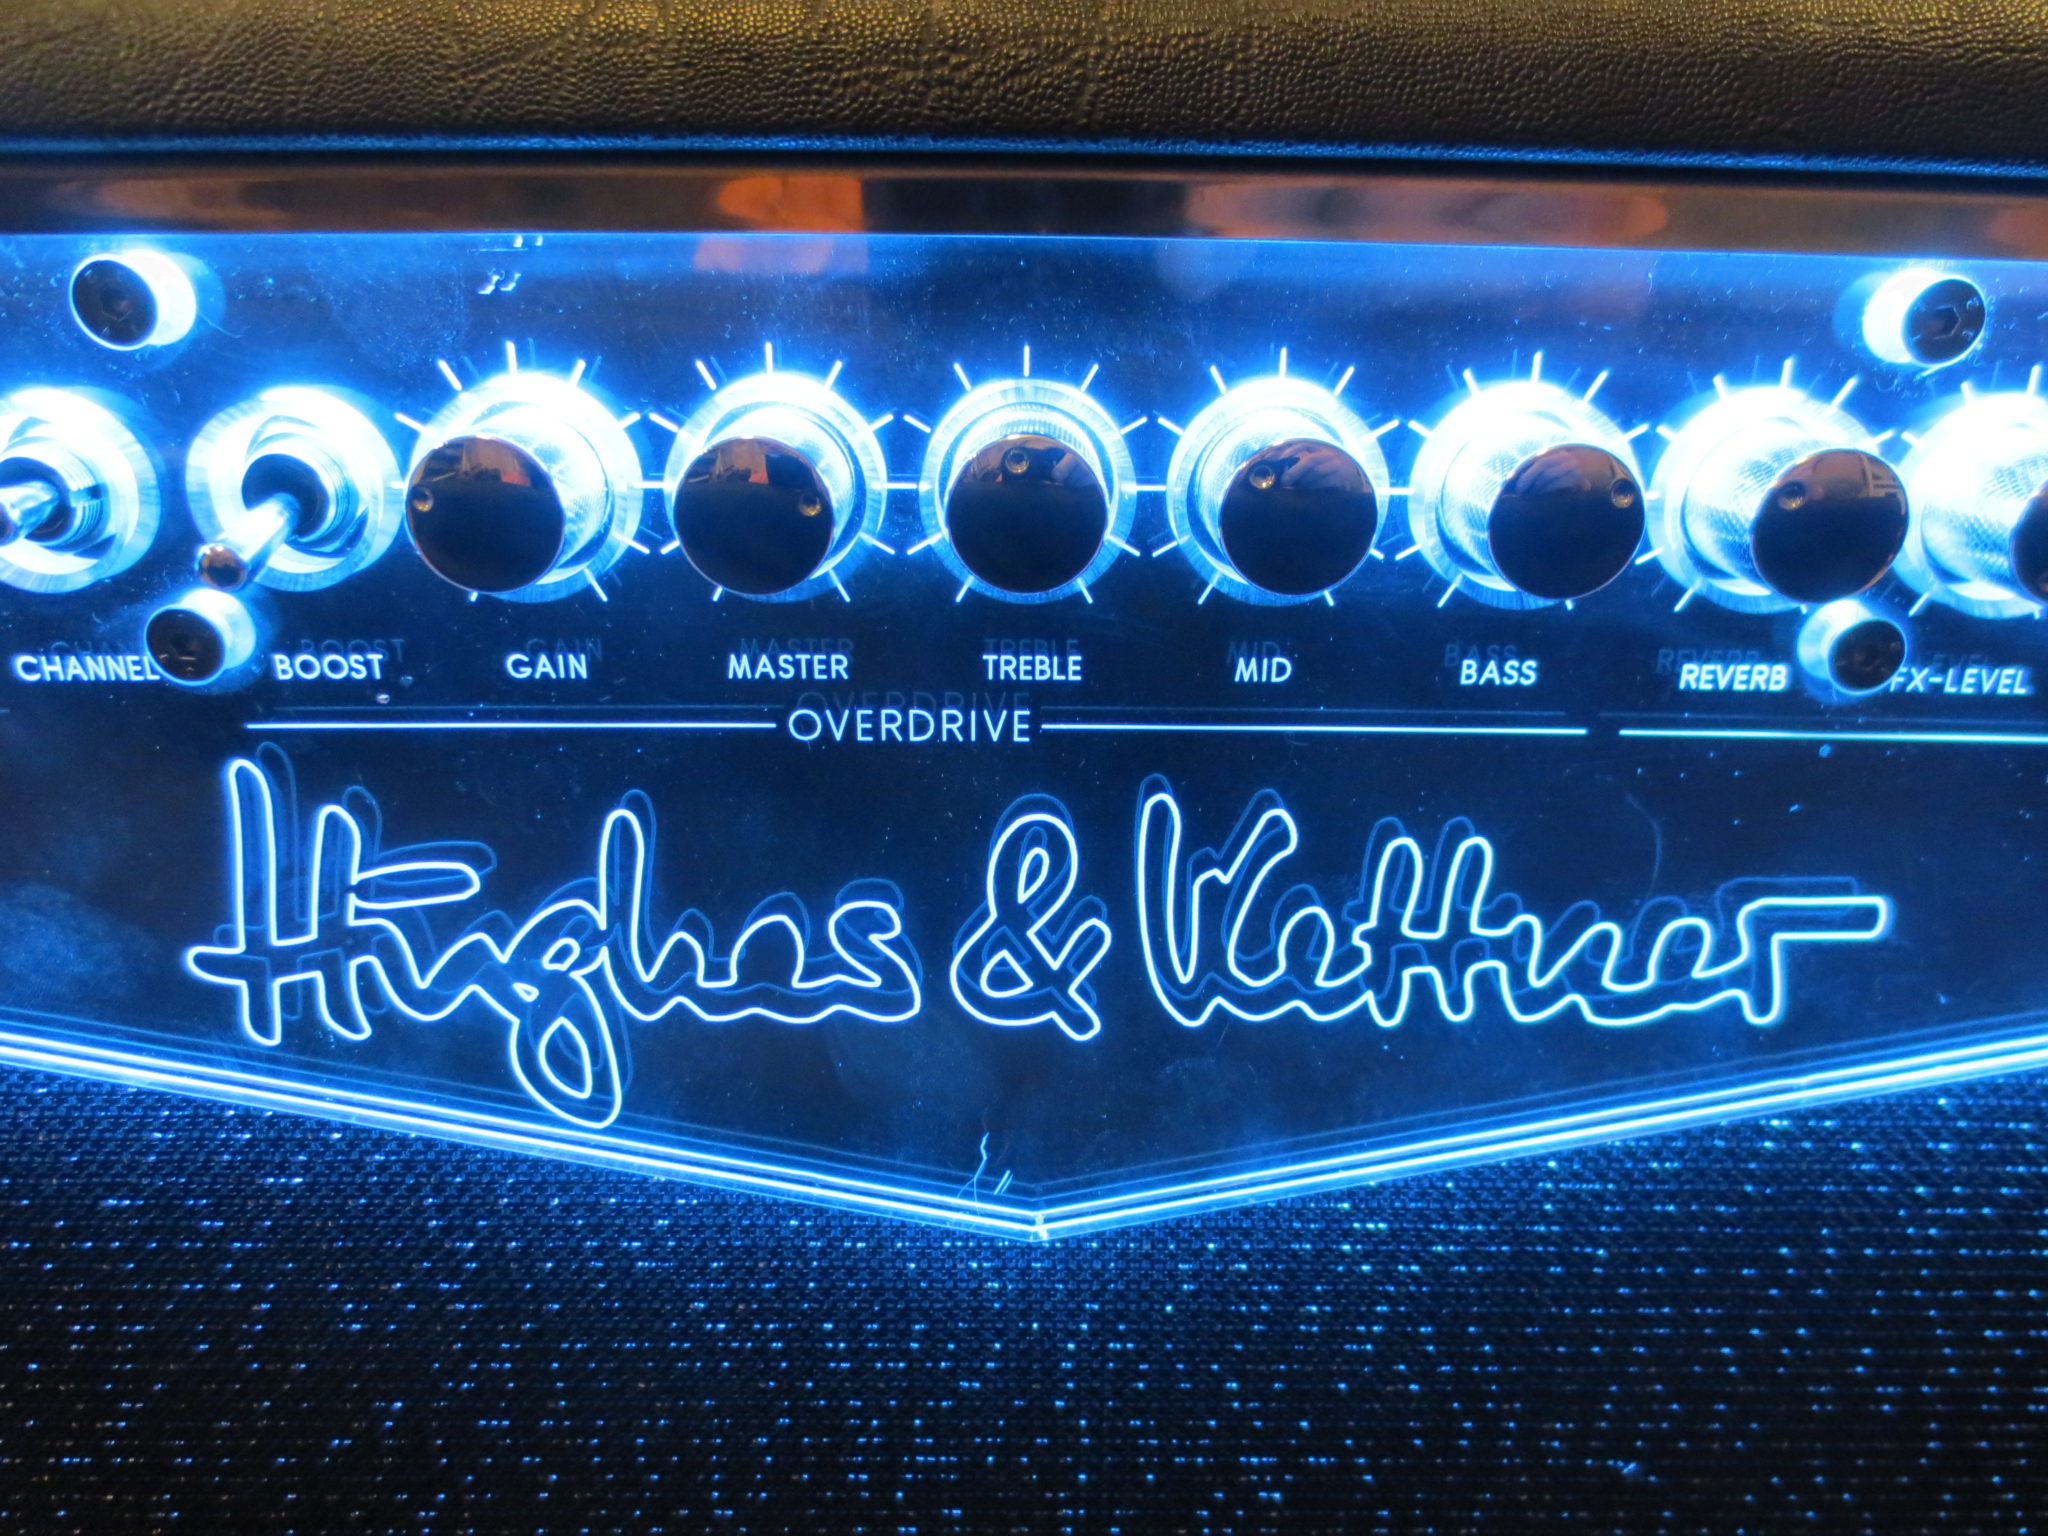
With some new tubes and a couple of other tweaks, Pat got this amp sounding better than ever. And when it’s lit-up, it looks as good as it sounds. Definitely worth the effort!