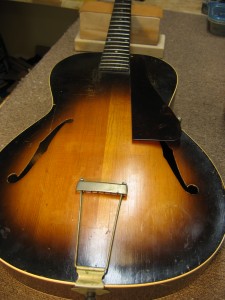
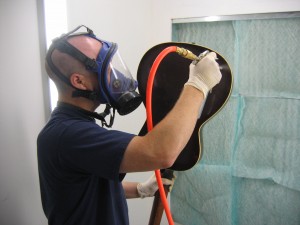
Sometimes braces come loose inside guitars as they grow old and dry out. When there’s a big circular soundhole to reach through, those repairs are easy enough. But in this guitar’s case, there are a pair of slender F holes and one brace that’s come completely out. The only way to get it glued back into place is to remove the entire back. Doing that to a guitar made in the early 1940’s means opening up a time capsule that hasn’t been seen by anyone since it left the factory.
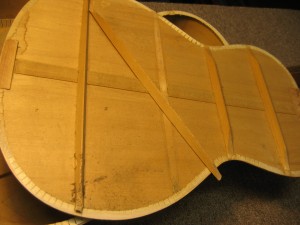
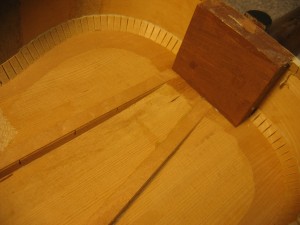
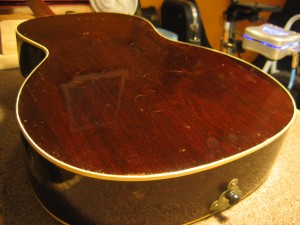
Here’s the back, separated from the rest of the guitar. We immediately noticed that all of the braces were coming loose so we decided to reglue all of them. Before that, however, take a look around the inside of this guitar.
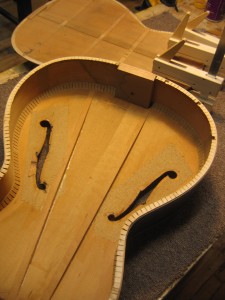
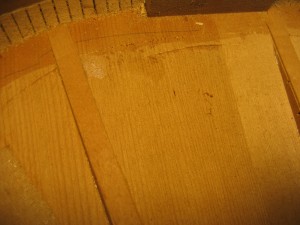
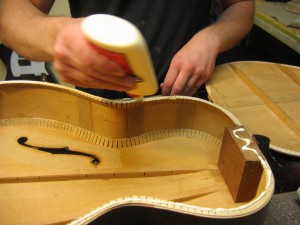
It’s so cool to see the plane, pencil, and chisel marks left by the builder at the Gibson factory who carved the inside of the top. You’ll notice that the top braces aren’t placed symmetrically. If it were a newer guitar one might think this was a scientific attempt at getting the bass or treble side to vibrate at a different frequency, but the truth probably is that they just fit best in these positions and someone wanted to get this guitar completed so they could move on to the next one.
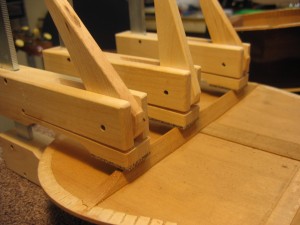
One by one, we removed the old braces, cleaned the glue joint areas, and glued them back into place.
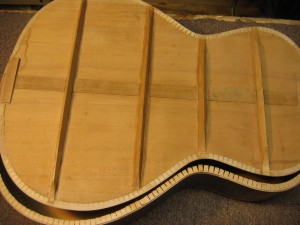
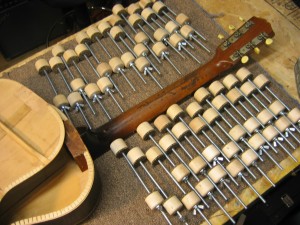
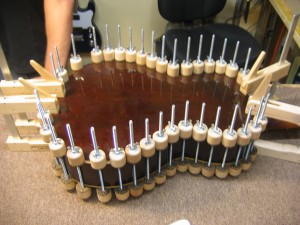
Then it was time to put it all back together. We like to fit the clamps without glue, then lay them out in order so we can get them tight before the glue starts setting.
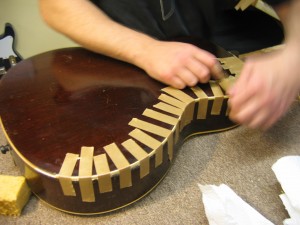
After the box is glued up we re-attach the original binding,..
…lightly touch up the repair area,..
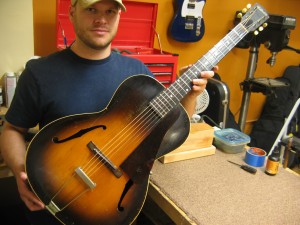
…then string it up and give it a strum. This guitar sounds as great as it looks.

great photos! the asymmetrically placed tone bars are actually typical for “parallel” braced archtops – not only Gibsons, also Epiphones are built that way.
M
I have a L47 (1942) I believe which previous owner has stripped and put a somewhat natural finish and varnish on it. Would this be something you would do – refinish in sunburst? If so please advise an estimate…. Thank you..
I just discovered the article & its very timely for me. I was asked to reglue portions the top & back of a ’42 Epi. Triumph. I’ve done a few builds, but not much repair . Do you know of any articles or books that would help ?
For this repair, we didn’t have much of a road map. We just knew that we didn’t want to start peeling off the binding if we could help it so the saw idea just made the most sense. As far as repair books go, our overall favorite is Dan Erlewine’s Guitar Repair Handbook. It covers just about every repair that’s more or less “routine.” I don’t recall if he gets into hard to reach brace repairs or not, but it does go to remarkable depth.
We are also big fans of Frank Ford’s site http://www.frets.com and his discussion site http://www.frets.net. It’s inspired us on a number of occasions where we needed to get creative.
Thanks for the great article, I was searching for details like this, going to check out the other articles.