After a serious fall – or more likely, several serious falls – this Paul Reed Smith ended up on the auction block. Here’s how we rebuilt the headstock and got it ready to rock again for the new owner. – This repair is becoming quite a specialty of Dan’s!
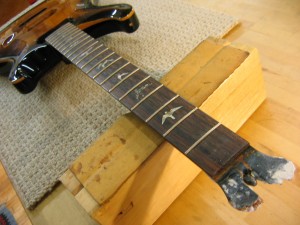
So you broke the headstock off of your nice Paul Reed Smith? No problem, just bring it in and we can reglue it for you. Just make sure you don’t try to slap it together yourself with bondo or plaster or …
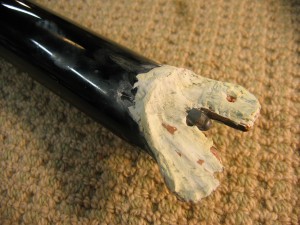
…Oh no! Yikes. This is ugly. And it obviously didn’t hold.
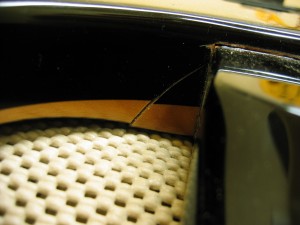
And there’s a major body crack too. This PRS is going to take a lot of attention if it’s ever going to play again. It’ll take grafting on a new headstock and re-gluing that big crack at the body.
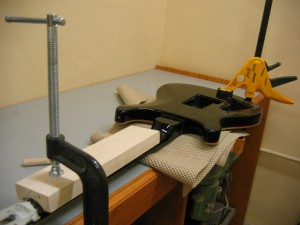
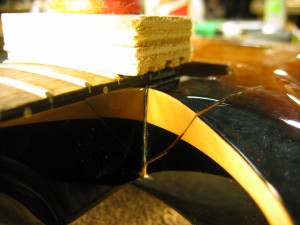
The body crack is where we start- gently applying enough pressure to open it, inject glue, and clamp it shut.
Once the body is glued up, we move on to the neck.
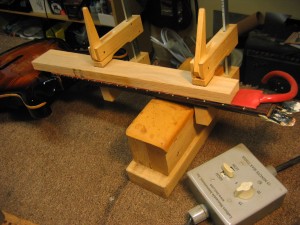
We need to graft on an oversized piece of mahogany using a scarf joint. To make sure the string tension pulls the new joint closed rather than open, we need to remove the fretboard, cut the useless piece of the neck away at an angle opposite the break, then attach the new section.
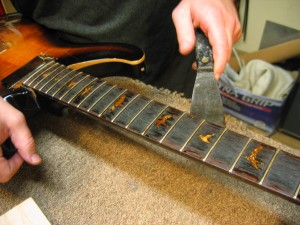
After heating the fretboard (don’t worry the discoloring of the inlays will sand away later,) Dan uses a modified putty knife to remove the fretboard. He then pulls out the truss rod, to be re-installed in the new headstock.
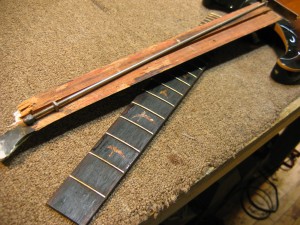
Next, he carefully saws the end of the neck off, creating an angled scarf joint.
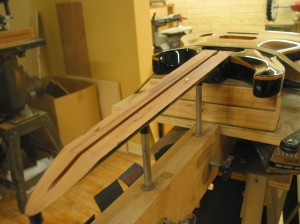
He rough cuts the new headstock from a block of mahogany…
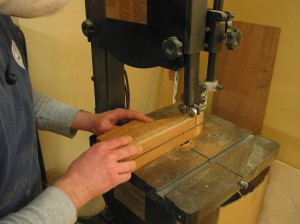
…and glues it into place on the neck.
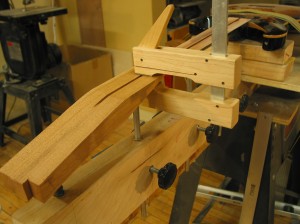
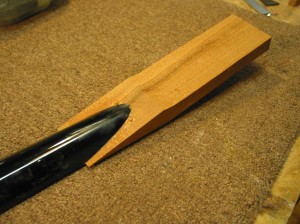
Once the glue is set, he hand carves the new headstock, using another PRS neck as a reference so that all the dimensions are perfect.
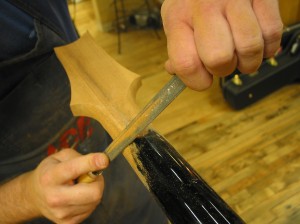
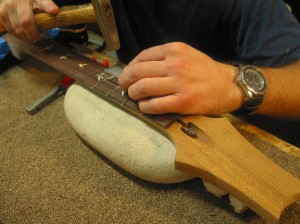
Then, he removes the old and worn frets, files the fretboard level and clean, and hammers home the new frets.
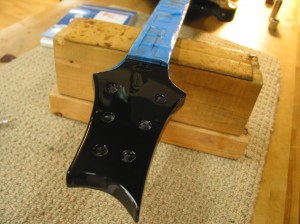
He drills the tuner holes, prepares the new wood for painting and over-sprays the whole neck and headstock area.
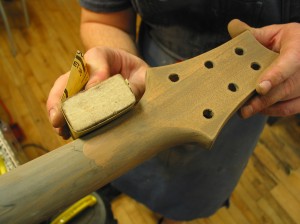
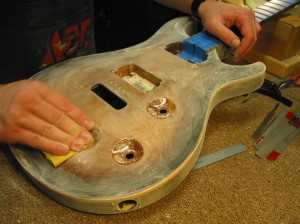
Since we had clear finish in the sprayer, we decided to go ahead and put a new coat over the body too to better mask the repairs on the top and make the whole guitar look uniform. Here’s Dan scuffing the finish before spraying.
After applying a new logo and clear-coating the neck, it’s time to put it back together again. Some PRS Dragon pickups, new hardware, and new wiring are installed.
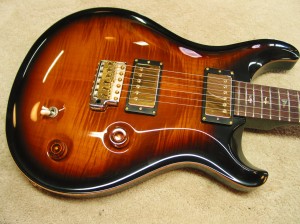
Finally, we give it The Works set-up and try it out. It looks great, sounds terrific, and ultimately cost the owner less than buying a new (or used!) Paul Reed Smith.
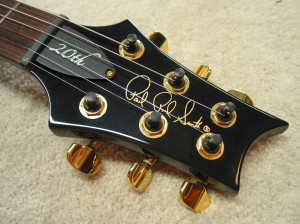
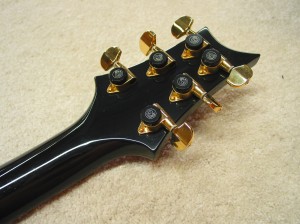
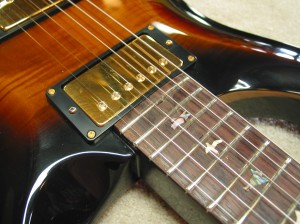

I wanted to comment, this is my guitar – it plays & sounds just as good as it looks, that is no easy task if you look at the begining photos. I cannot thank Steve & Dan enough for making this possible. From start to finish they were awesome – totally professional & like talking to an old friend every time I walked in to their shop. They are growing in a bad economy (that tells you something) all in all the guitar exceeded any expectations I had in looks, sound and touch. They should call themselfs Chicago Fret Wizards cause they have a magic touch!
Hello,
I am looking for a dragon style abalone inlay installed on my
Modulus 3t guitar. Can you tell me what something like
that may cost. time it would take? ?
Hi Eugene. Very sorry to have missed your question for so long. A full fretboard inlay is not something we do here – though we would happily install a fretboard for you. I would recommend inquiring with an inlay art specialist like http://www.nicholsinlay.com for the actual fretboard inlay work. Best of luck. -Steve
I have a chipped headstock on a PRS custom 22 single cut that I am repairing myself. PRS is giving me the runaround on a decal. How were you able to obtain an original replacement decal?
Thanks!
This is nuts! Another level of amazing work.